

By Eric Bell
Simple version; this p
Minus a pile of this p equals this q
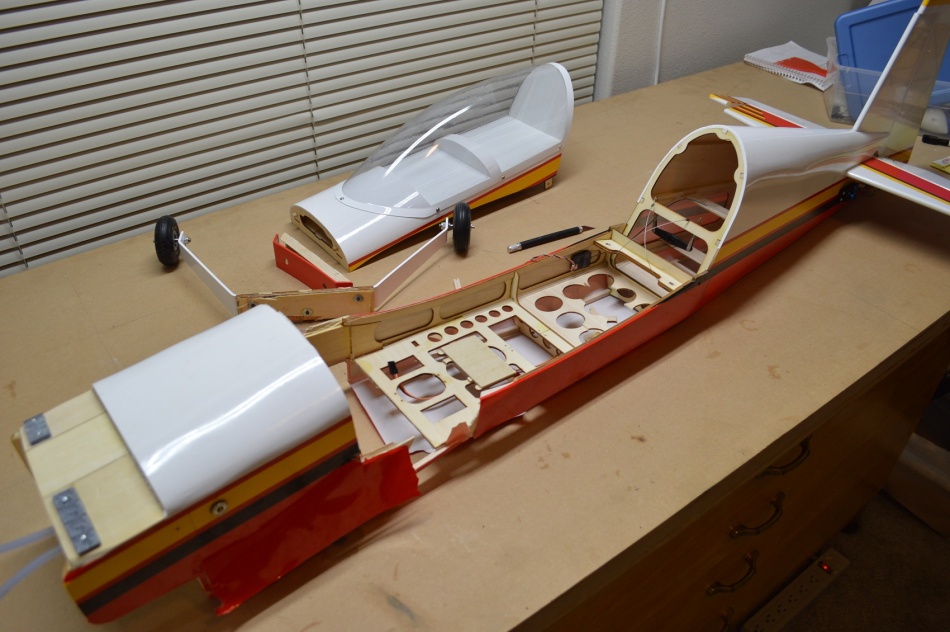
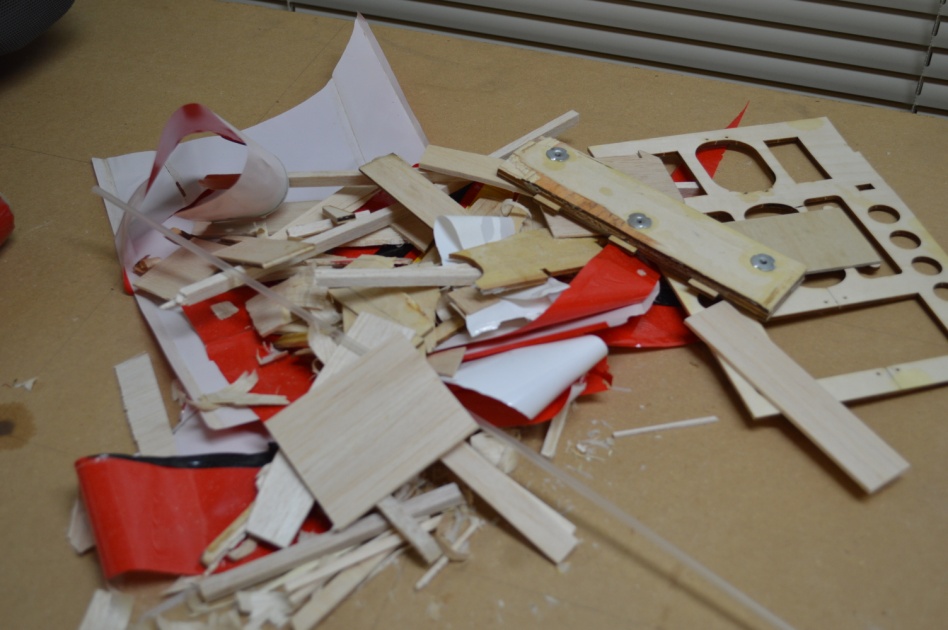
The following are some of the main steps along the way that got me to the final result. After examining some seemingly non-repairable damage from a pancake impact during the maiden flight, I found an opportunity to try different repair techniques. After all what’s the worst that could happen? I could just throw it in the trash without trying. But hey, it handled pretty good on that one flight and I don’t have the money to just toss it without trying.
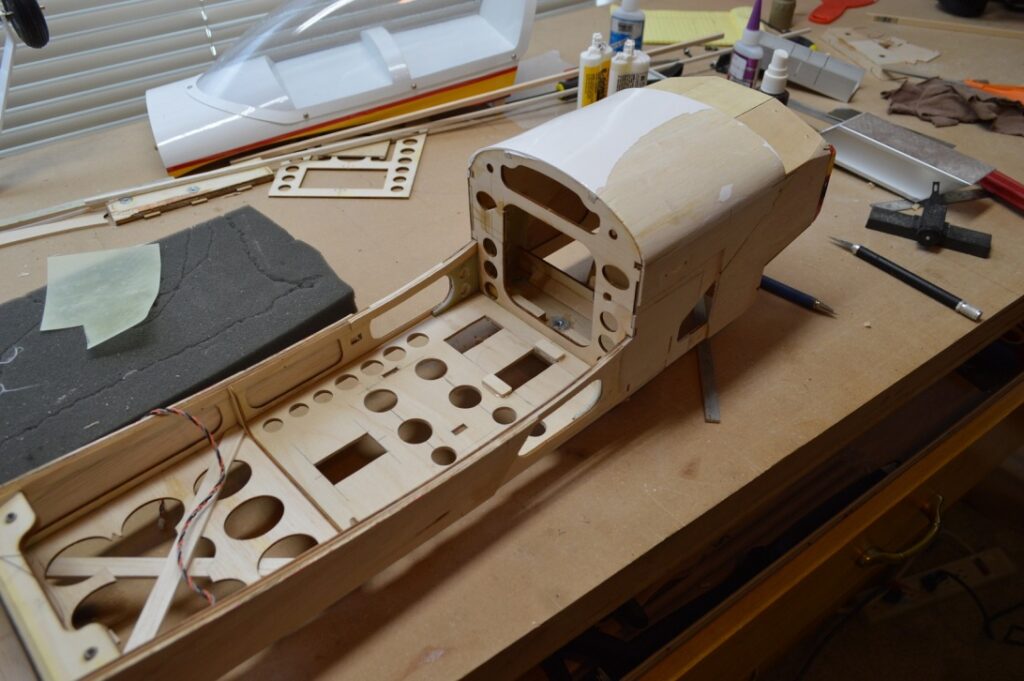
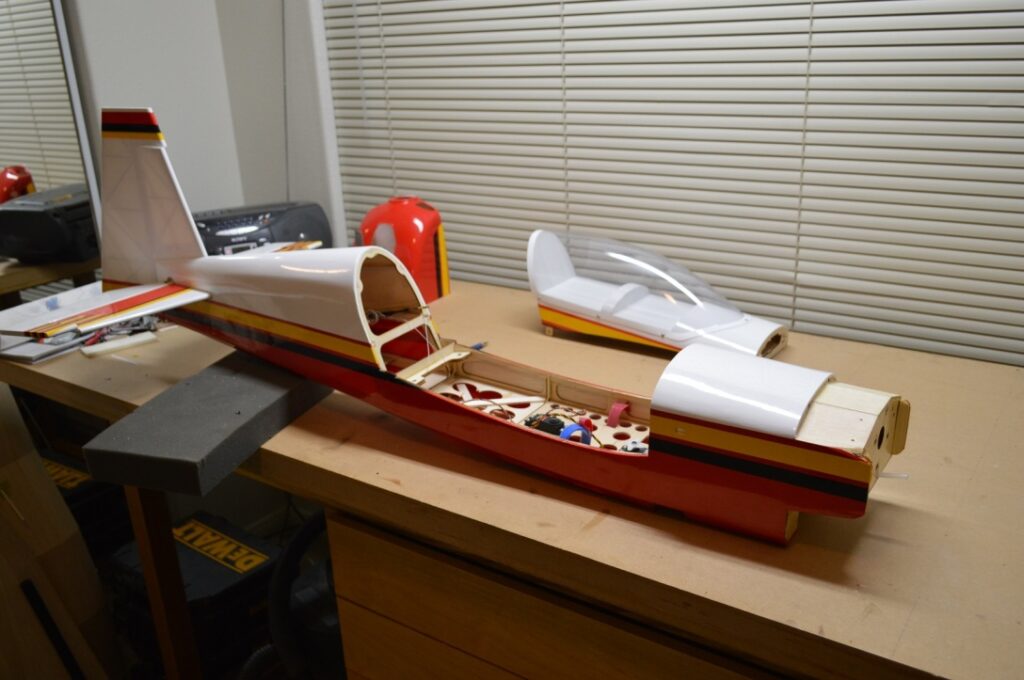
The first step was to assess the damage and exactly what failed. It seems that the wing saddle braces are the wrong material and don’t cover enough area to properly strengthen the front of the fuselage.
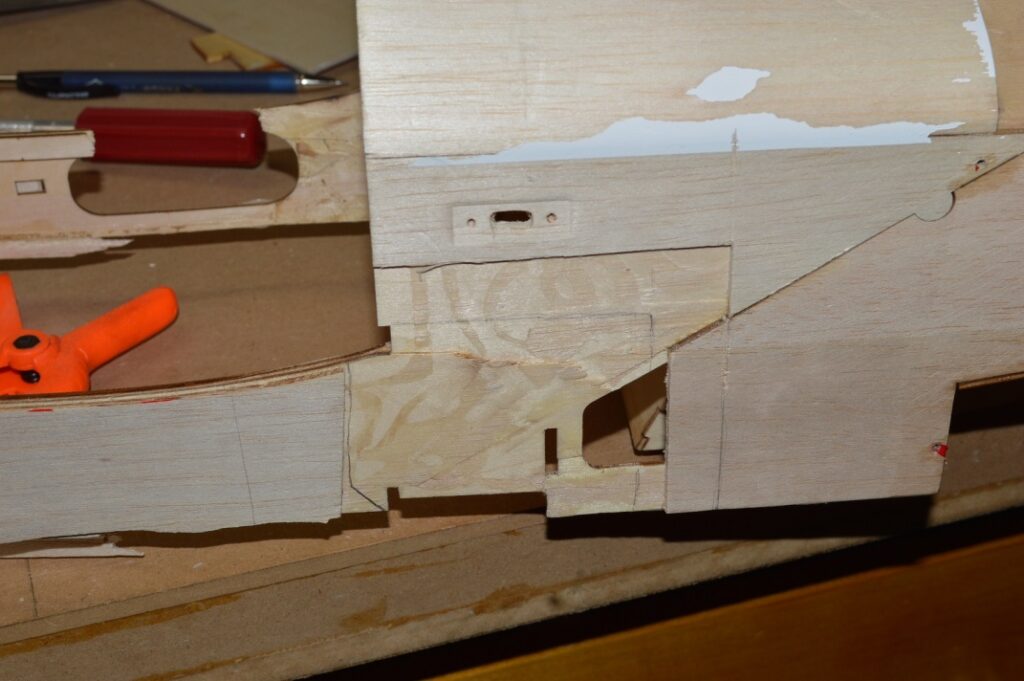
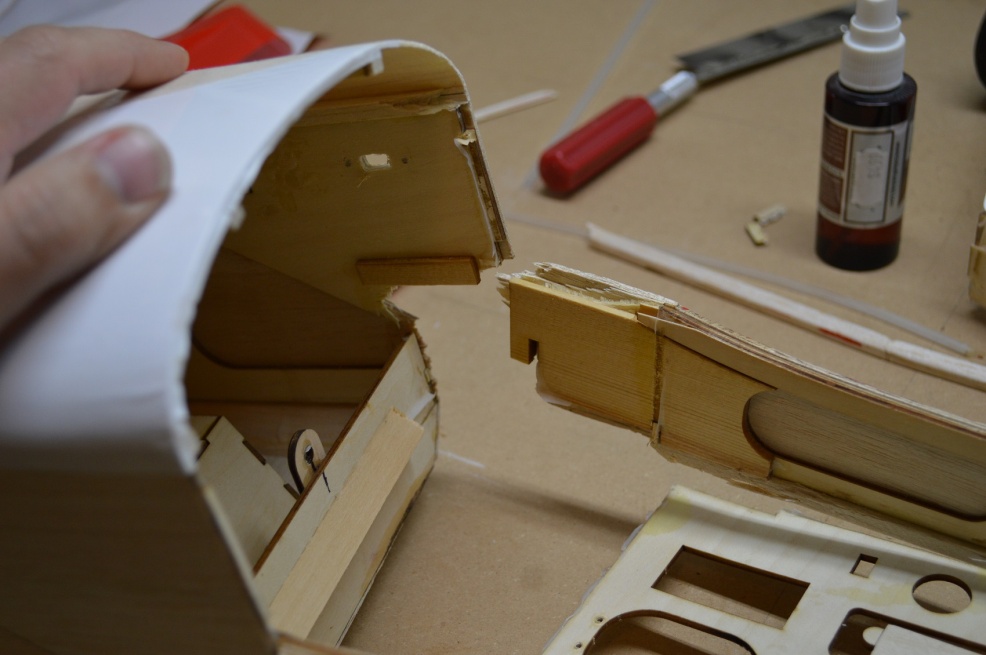
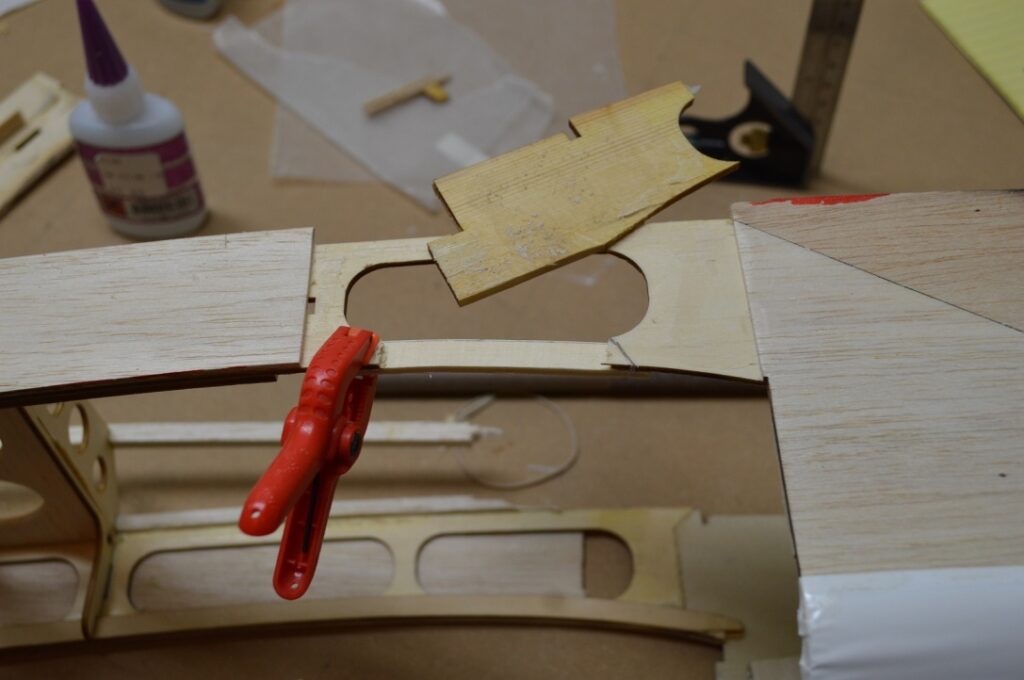
After it gets stripped down to the core area I carefully put the break back together for alignment purposes and decided on the patch size and location.

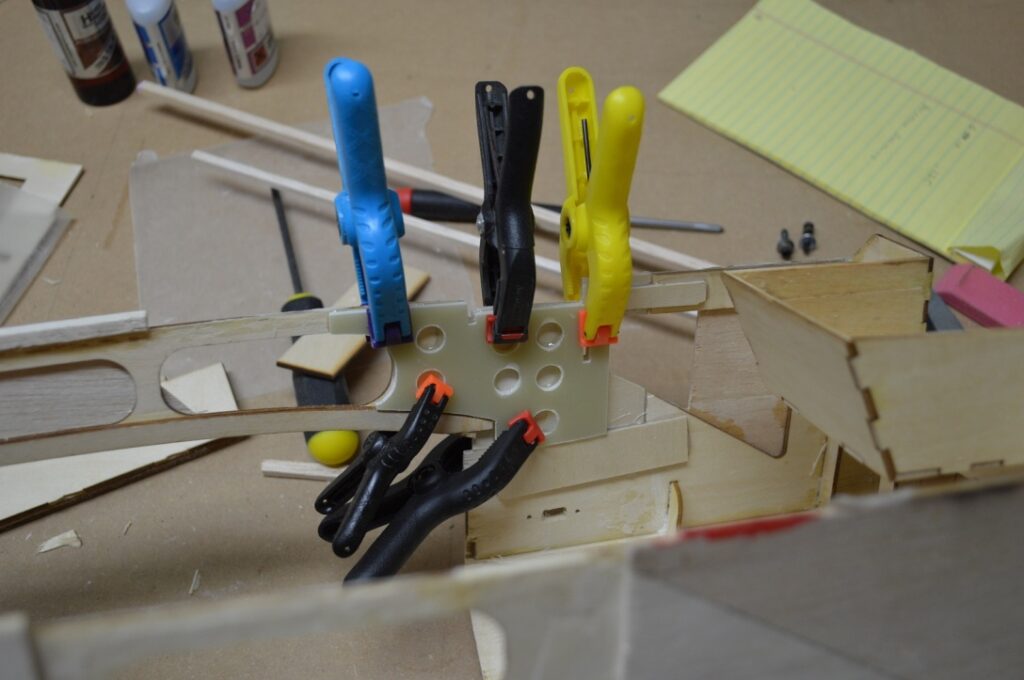
After determining the patch I used some hard balsa to make a template of the patch
Measure, Sand, file, fit, sand, fit, measure, sand, fit, sand, fit, and then glue

I did use a triangular measurement along these lines to ensure it ended where it started.
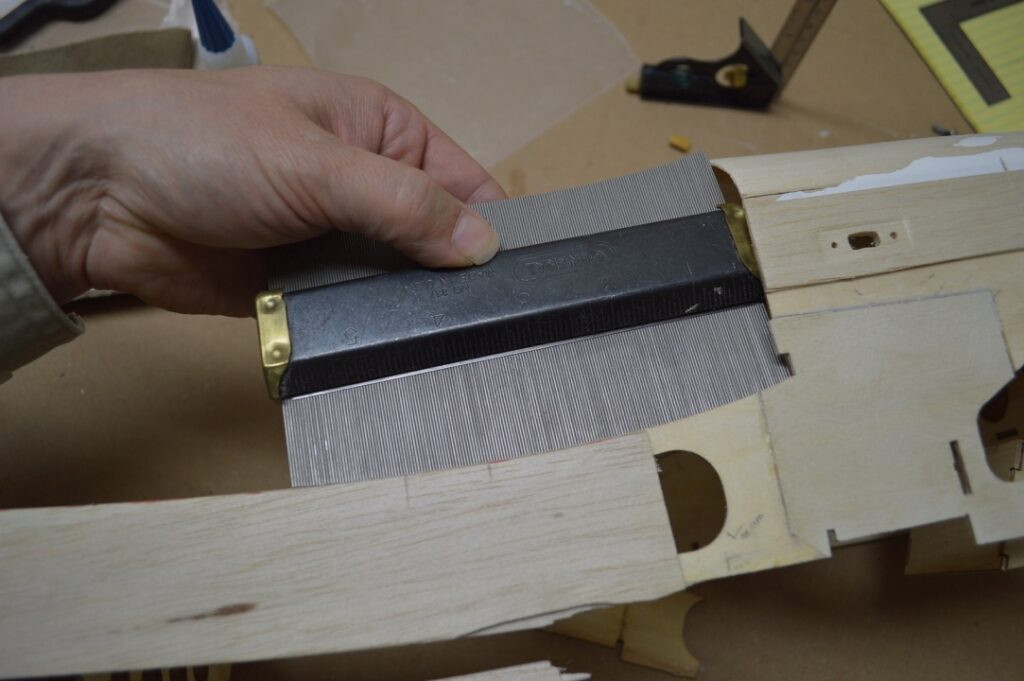
Next up is to determine the wing saddle patch for the other side that must still be nourishing the grass at the field.
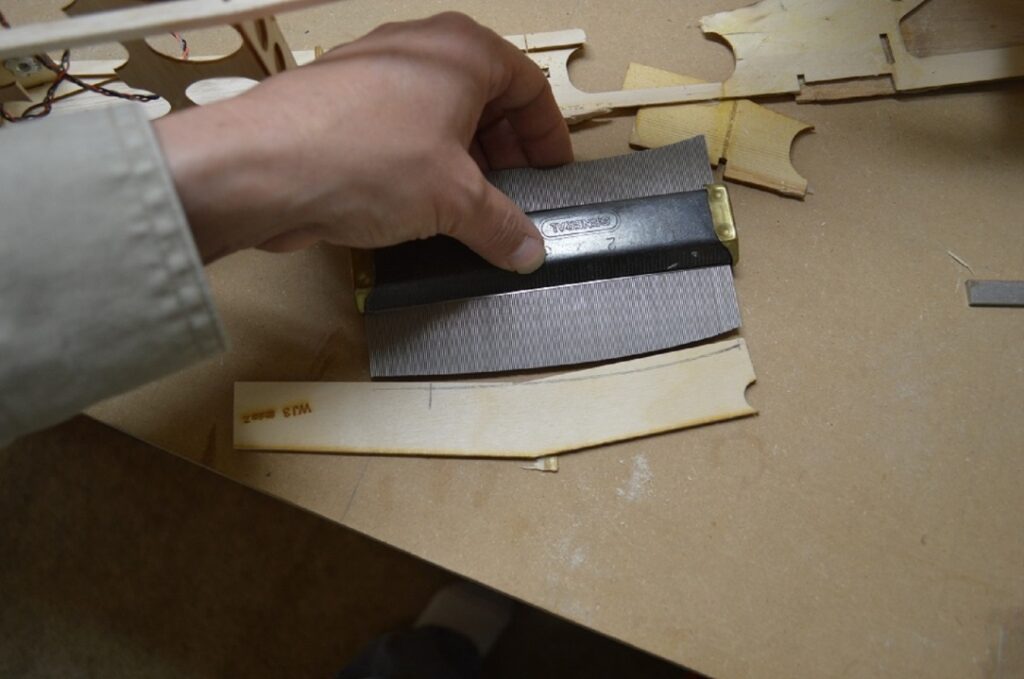
Using a contour gage and piece of scrap lite ply I cut out the rough piece of newness
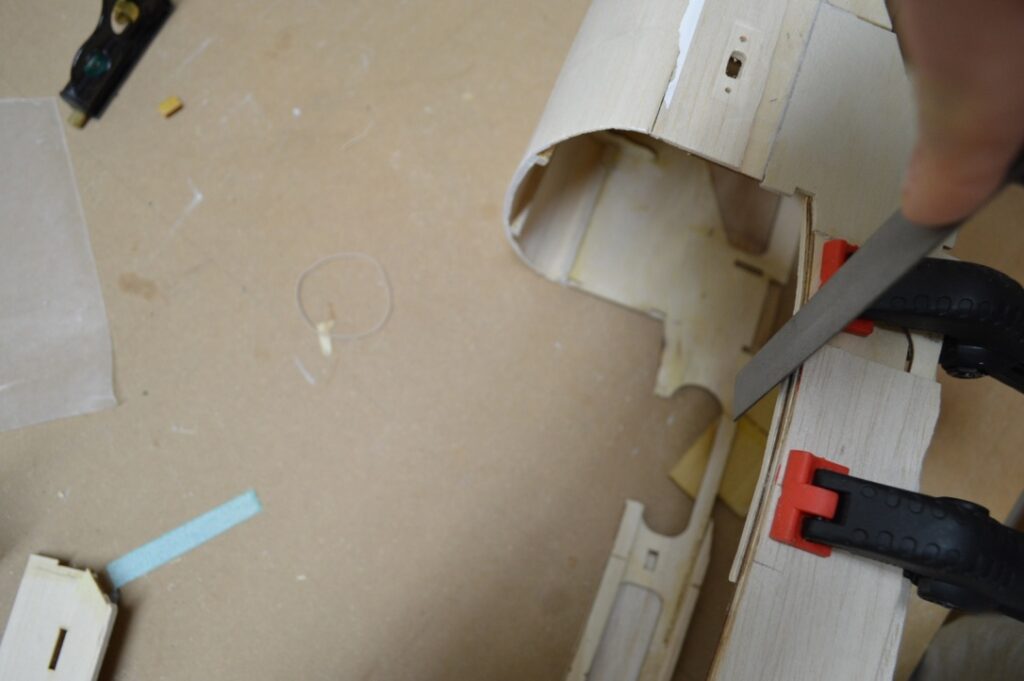
Filed and shaped to fit correctly while clamped to the opposite side
Then cut it out and glued it in place, all betters
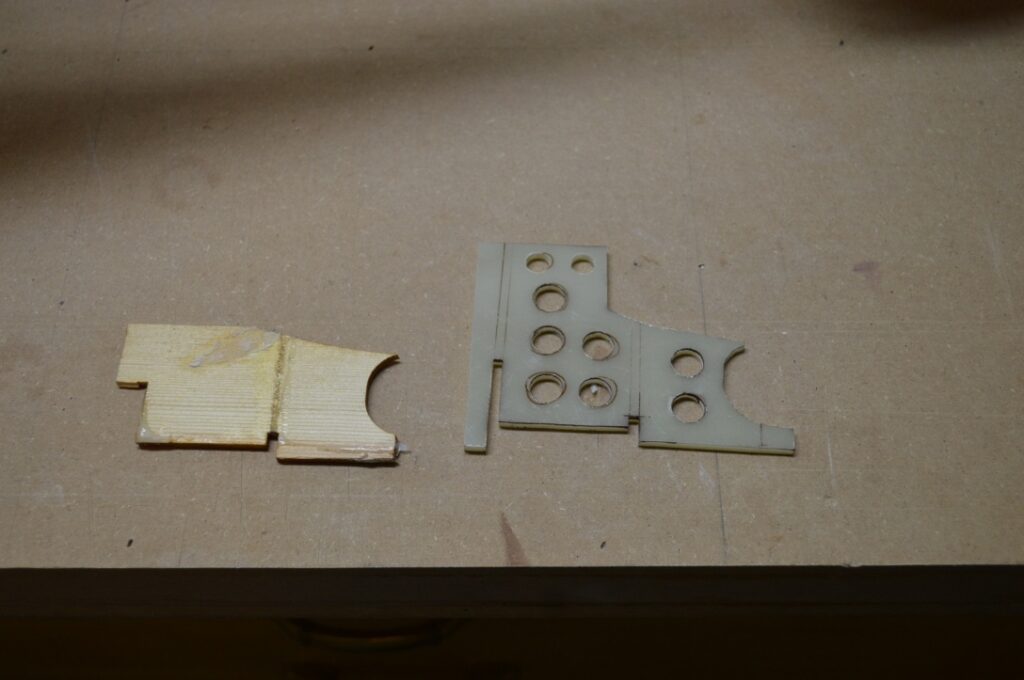
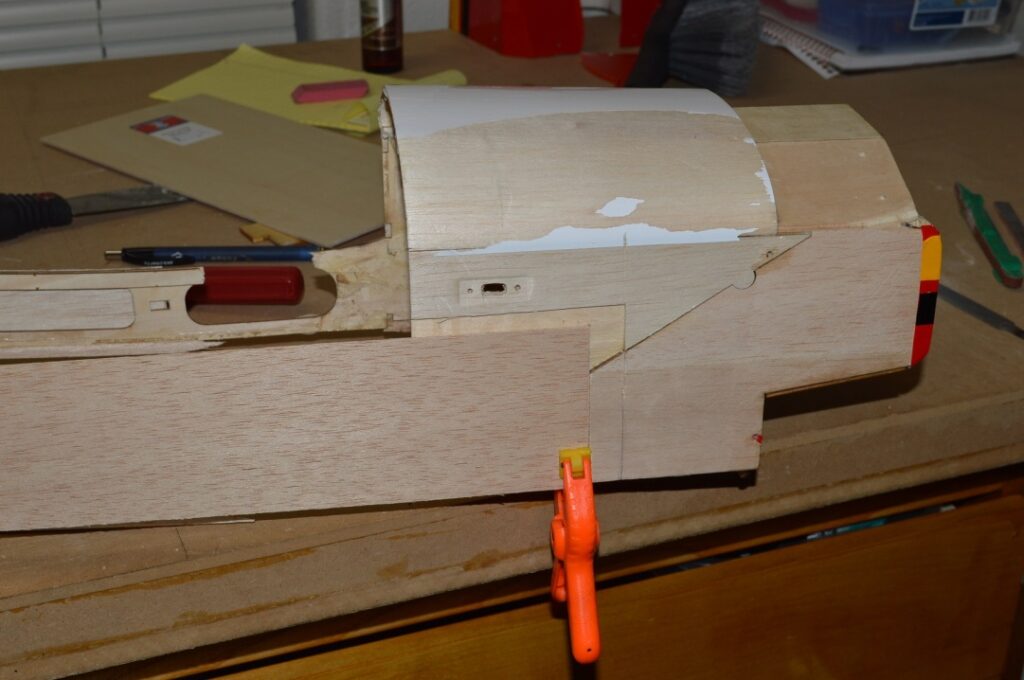
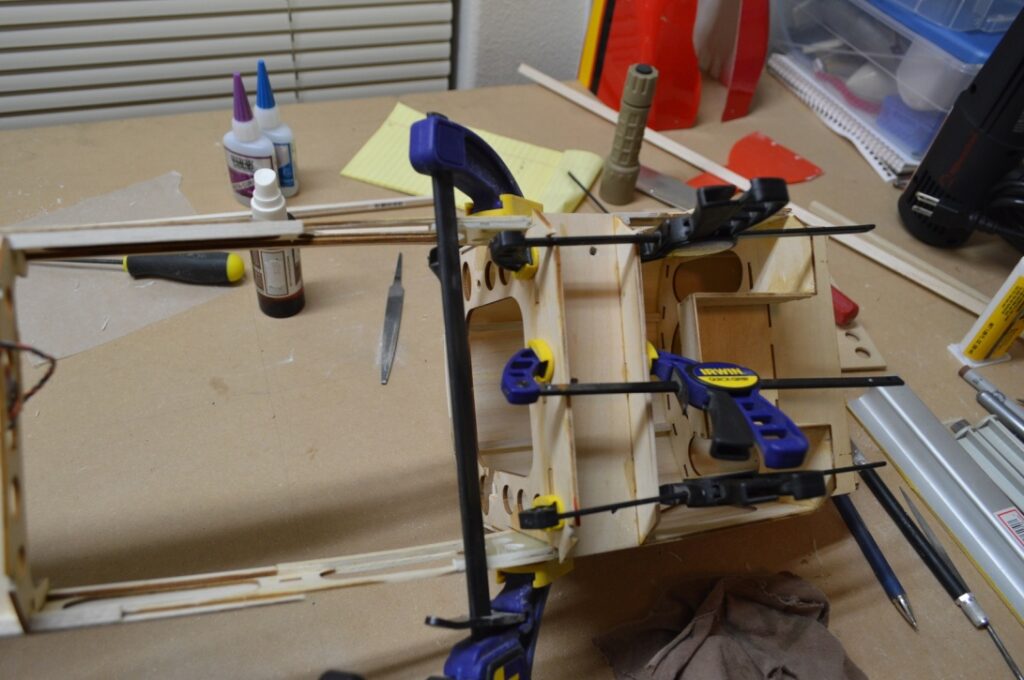
Next item on the list is to replace the re-enforcing brace forward of the wing saddle. The part that broke. I used a product called G-10 basically epoxy glass board. This time much bigger, much longer and much, much, much stronger
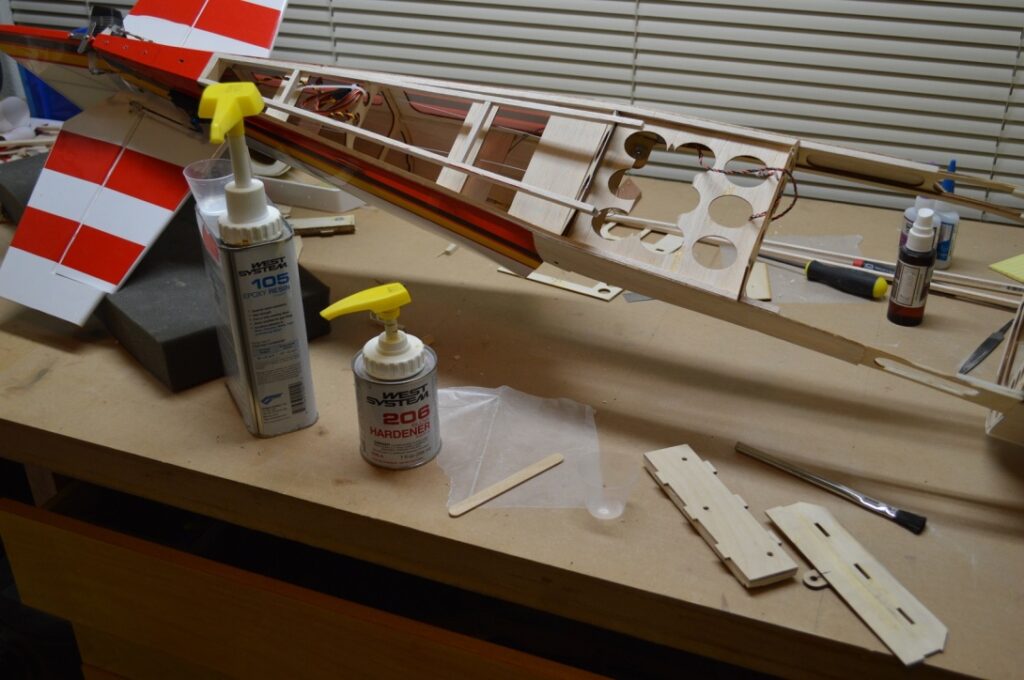
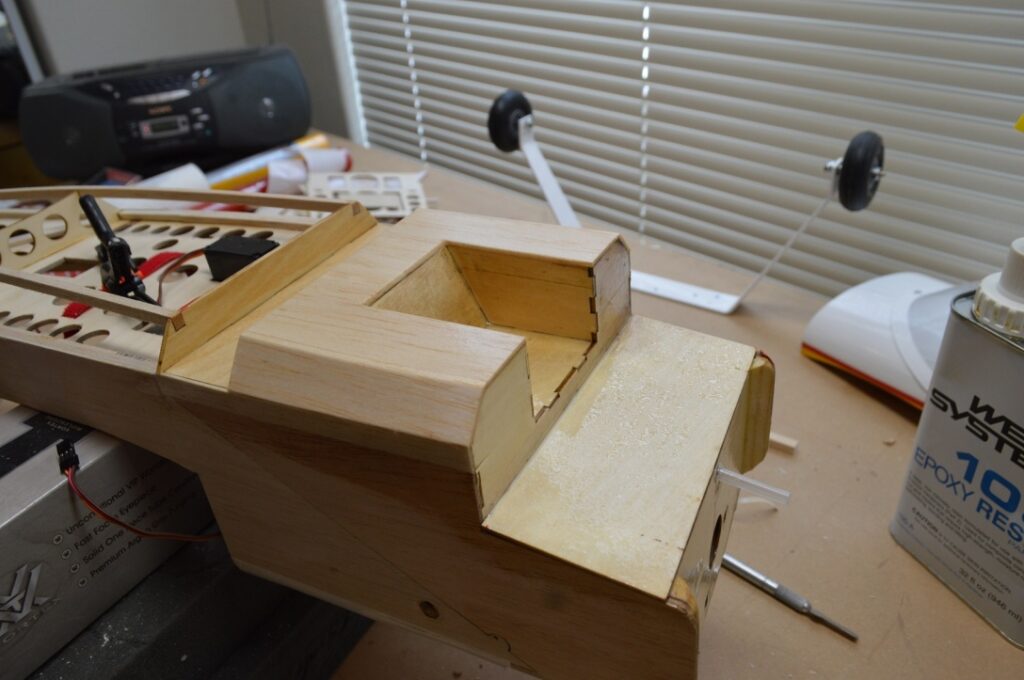
For the gear block I used West Systems epoxy and three pieces of 3/16 ply to recreate the original.
And then epoxy’d the appropriate puzzle pieces in place
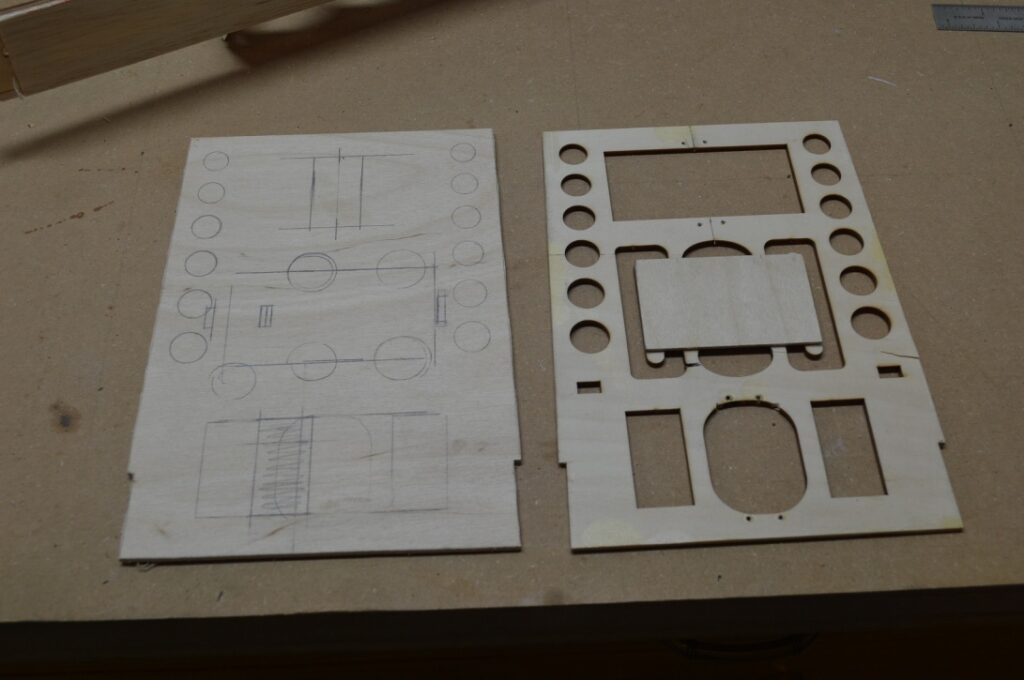
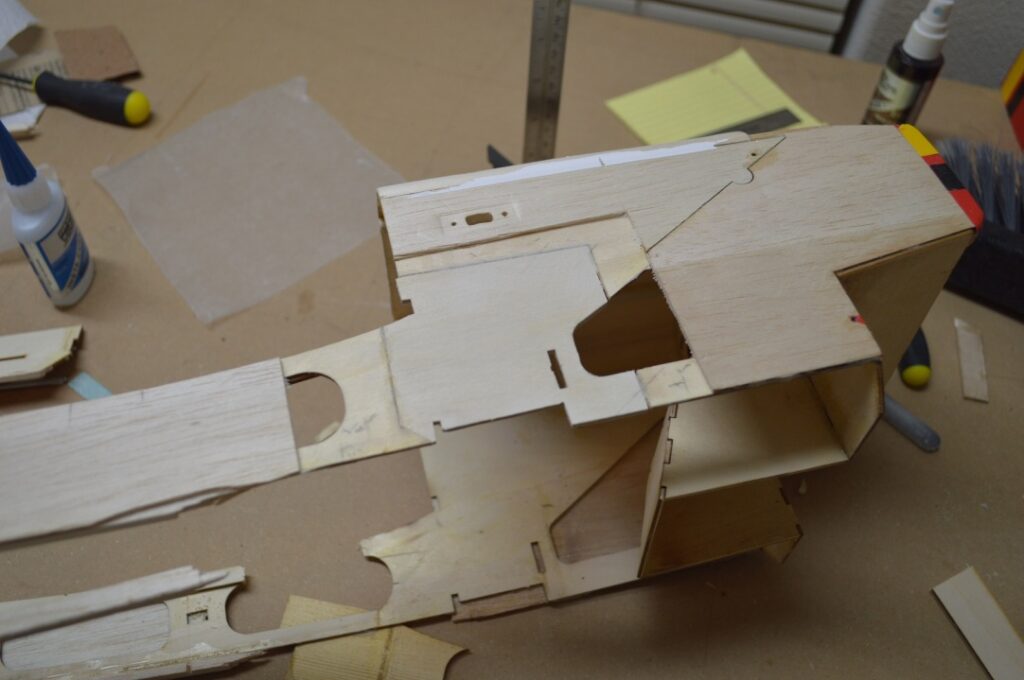
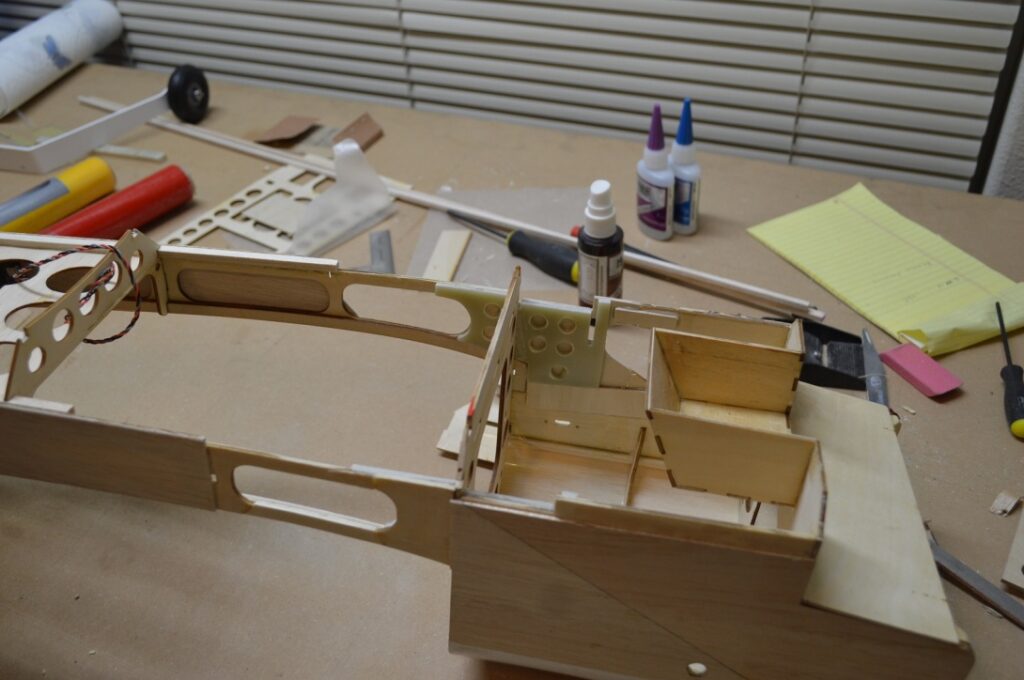
This was a good point to replace the radio tray so I reconfigured it to be more pleasing and functional
Almost back together
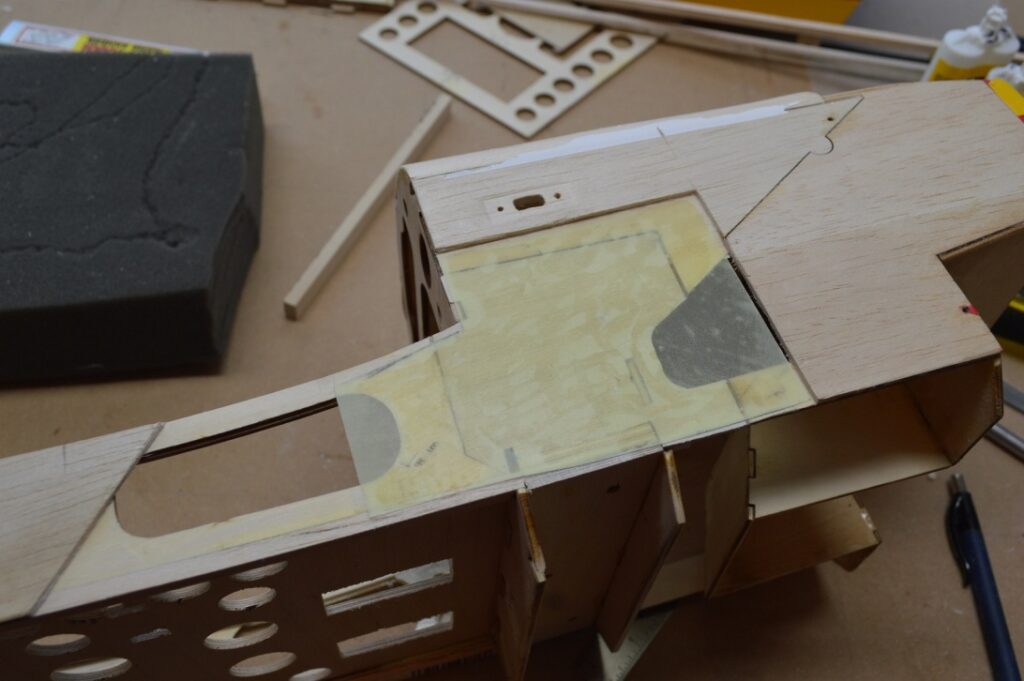
Just need to redo the outer sheeting. But first stuck in some .010 G-10 to really tie it all together
Since the original construction was not fuel proofed at all I decided to fix that oversight. After all, can’t have a glow engine bird soaked in castor oil. They don’t last too long that way.
Last but not least, put the covering back on.
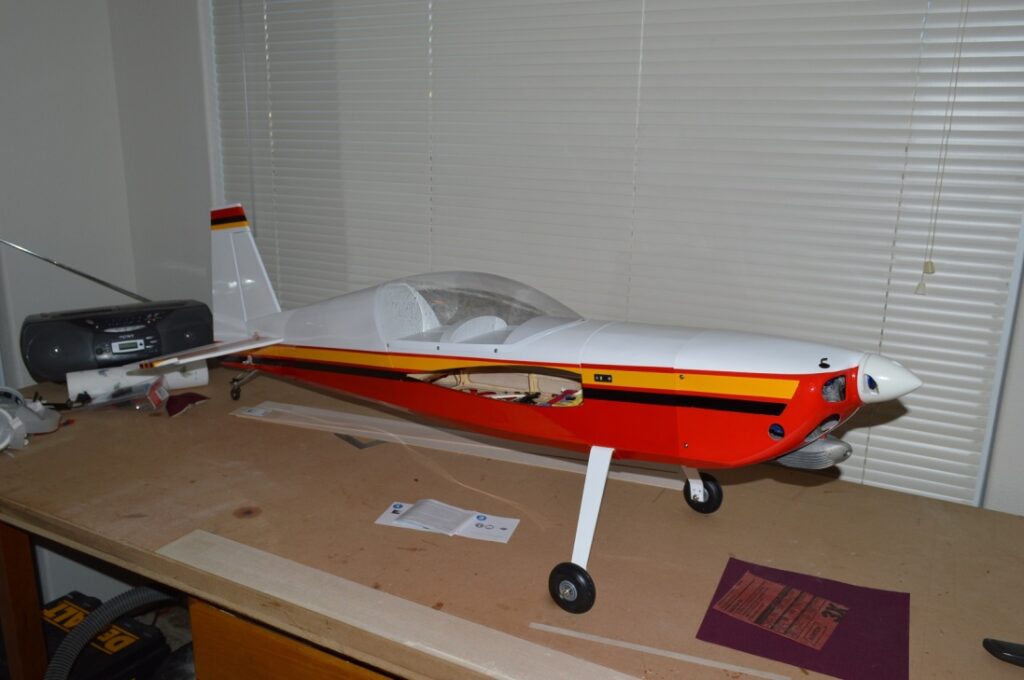
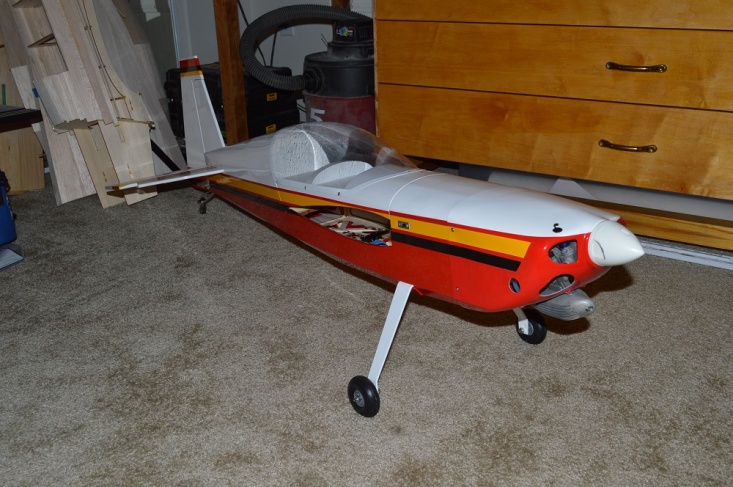
There you have it. One repaired fuselage, back to better-than-new.